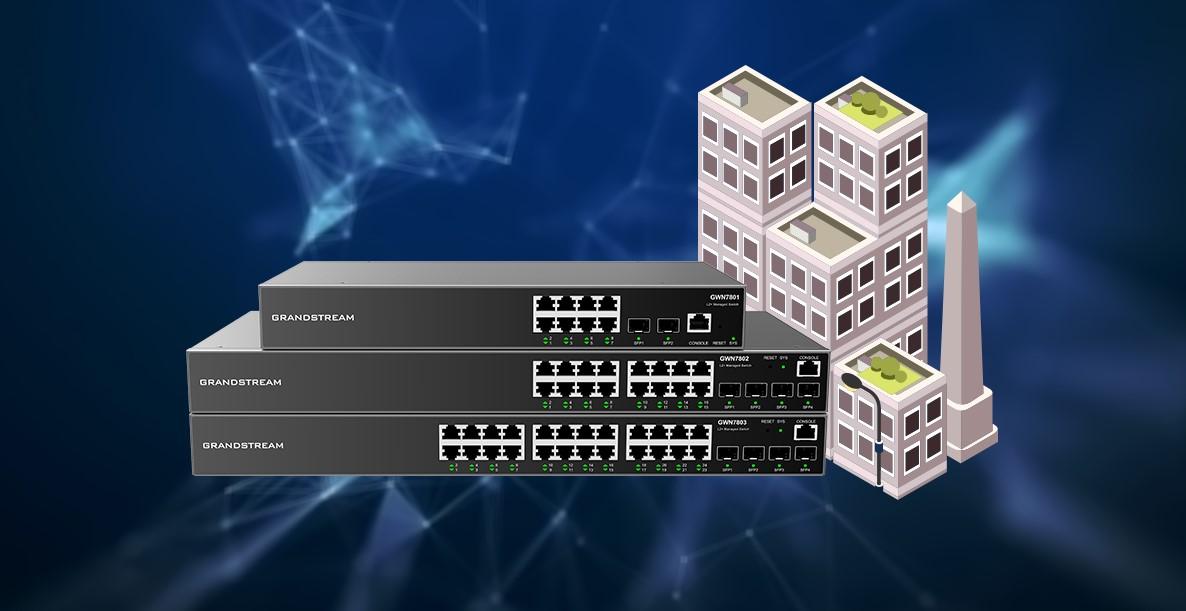
Mastering VLAN Configuration on GWN Layer 2+ and Layer 3 Switches
VLAN (Virtual Local Area Network) configuration is a critical skill for optimizing and securing your network infrastructure. Whether you're managing a small business network or a larger enterprise environment, understanding how to configure VLANs on GWN Layer 2+ and Layer 3 switches can significantly enhance your network's performance and security. In this comprehensive tutorial, we will guide you through the process of setting up VLANs on GWN switches, ensuring you master this essential aspect of network management.
Understanding VLANs and Their Importance
A VLAN is a logical subgroup within a larger network, designed to segment and isolate network traffic. By separating devices into different VLANs, you can improve network performance, enhance security, and simplify management. VLANs are particularly useful for separating sensitive data, reducing broadcast domains, and organizing network resources based on function or department.
Prerequisites for VLAN Configuration
Before diving into the VLAN configuration on GWN Layer 2+ and Layer 3 switches, ensure you have the following:
GWN Switches: Ensure you have GWN Layer 2+ or Layer 3 switches.
Network Plan: Outline your VLAN structure, including VLAN IDs and the devices or departments assigned to each VLAN.
Access to Switch Management Interface: Ensure you have administrative access to the switch's web interface or command-line interface (CLI).
Step-by-Step Guide to Configuring VLANs on GWN Switches
1. Accessing the Switch Management Interface
First, log in to your GWN switch's management interface. You can typically access this via a web browser by entering the switch's IP address.
2. Creating VLANs
Navigate to the VLAN configuration section of the management interface. Here’s how to create a new VLAN:
Step 1: Click on the "Add VLAN" button.
Step 2: Enter the VLAN ID (a unique identifier for the VLAN).
Step 3: Provide a name or description for the VLAN (e.g., "Sales Department").
Step 4: Save your changes.
Repeat these steps for each VLAN you need to create.
3. Assigning Ports to VLANs
Next, assign switch ports to the appropriate VLANs. This is crucial for ensuring that devices connected to specific ports are part of the correct VLAN.
Step 1: Navigate to the port configuration section.
Step 2: Select the port you want to configure.
Step 3: Assign the port to the desired VLAN by selecting the VLAN ID from the dropdown menu.
Step 4: Save your changes.
4. Configuring Inter-VLAN Routing (Layer 3 Switches)
If you are using a GWN Layer 3 switch, you can enable inter-VLAN routing to allow communication between different VLANs.
Step 1: Navigate to the routing section of the interface.
Step 2: Enable routing and create a new routing entry.
Step 3: Specify the VLANs that need to communicate with each other.
Step 4: Save your changes.
5. Verifying VLAN Configuration
After setting up your VLANs and configuring the ports, it’s important to verify that everything is working correctly.
Step 1: Use network monitoring tools to check connectivity between devices within the same VLAN.
Step 2: Test communication between different VLANs if inter-VLAN routing is enabled.
Step 3: Ensure that devices are correctly segmented and isolated according to your network plan.
Mastering VLAN configuration on GWN Layer 2+ and Layer 3 switches is a valuable skill for any network administrator. By following this tutorial and leveraging VLANs effectively, you can enhance your network's performance, security, and manageability. Whether you are segmenting your network for security reasons or optimizing traffic flow, VLANs are a powerful tool in your network management arsenal. Start configuring VLANs on your GWN switches today and take control of your network like a pro!