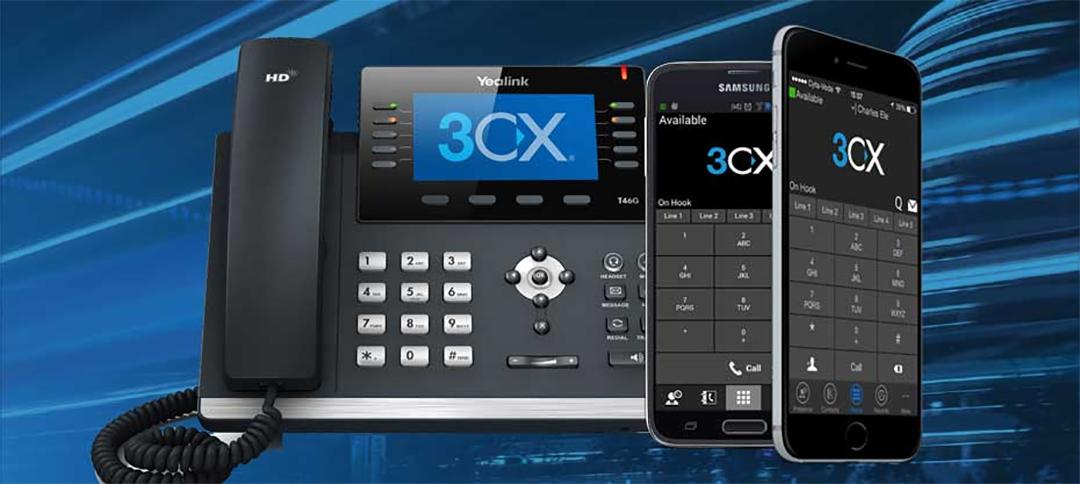
How to Use 3CX to Secure Your Phone System in 8 Steps
Hackers now have more chances as remote work becomes more common. To help our 3CX resellers stay up to date on the newest developments, we concentrated on security precautions you may take for your phone system. Allow me to quickly review the eight steps you may take right now:
SIP Authentication
The first step is to set up your SIP authentication! A random 10-character alphanumeric SIP ID and password are required by default; however, you can increase security by using more characters (up to 50).
Extension Security: Voicemail PIN
For your voicemail, do you have PIN numbers? You can create a random 4-digit PIN once you enable the default setting, and the system will give you three chances to get it wrong. Disabling voicemail is preferable if you don't need it at all.
Moreover, you can strengthen the security of your voicemail by lengthening the PIN (up to 10) digits.
Extension Security: Security Settings
Here are some other security settings you can adjust to further safeguard your system:
*For unneeded extensions, disable the extension.
*Turn off calls from outside. Only internal calls are accepted.
*PIN Safeguard. Only after entering the voicemail PIN (example: 777) can you accept external calls.
*Stop extensions from signing up from outside the local area network.
*Stop applications from connecting via the tunnel from outside sources.
*When not in office, stop making outgoing calls. cleaners, etc.
Allowed Country Codes
You can designate which countries you can make calls to by setting the authorized country codes. Observe these actions:
* → Settings → Security → Allowed Country Codes
* Indicates which nations calls are permitted to be placed.
* Uses the E164 settings, International Dialing Code.
* After Outbound Rule reformatting, match
* To be effective, they must match precisely.
Configure Secure SIP
* → Settings → Security → Secure SIP
* Certificates with 3CX FQDNs preconfigured
*Manually set up phones in SIP mode.
* Be aware that Secure SIP employs TCP port 5061 by default.
*Windows App for 3CX -
* Extension → Phone Provisioning → SIP Transport = TLS
SRTP (Secure Real-time Transport Protocol)
Audio stream encryption (RTP) -both to and from an ongoing extension
Employing cryptographic keys -Extension and IP phone activation required (useless without sSIP)
Configuring sRTP IP Phones- Turn on sRTP through the Phones Web UI
Windows App 3CX - RTP Mode: Exclusively Secure
There are more steps you can take to prevent hacking:
* Ineffective Authentication Security -Indicate the number of unsuccessful attempts at authentication. Once Exceeded, Added to Blacklist
* Default Twenty-five tries by lowering the minimum number of attempts permitted, you can further secure your system (min 3-Just be cautious—reducing too much could result in the blacklisting of valid extensions!
* Rejected Challenge Requests - Indicate the quantity of 407 Authentication Requests that remain uncontested. Once Exceeded → Added to Blacklist
* You have 1000 attempts by default, however you can change this amount to lower the maximum number of attempts (min 100). defends against bursts of packets , divided into three tiers or walls .Below Amber, nothing to do
*Reaching the Amber Barrier takes 5 seconds (throttling). Interval between blacklist and red barrier reached time Interval for Blacklisting. After IP is Banned by Anti-Hacking Software, Stays blocked for the designated amount of time 86400 seconds is the default value (24 hrs). A value rise is permitted up to 1,000,000,000 s, or approximately 11,574 days or 31.7 years.
IP Blacklist
Add the IP address of the unwanted visitors to a blacklist to keep them out:
* Dashboard → IP Blacklist . When Anti-Hacking requirements are satisfied
* "Perpetrators'" IP addresses are added
* Global Blacklist Time Interval by Default
Additionally, you can manually add IPs to the Blacklist and Whitelist in order to block or allow specific IPs.