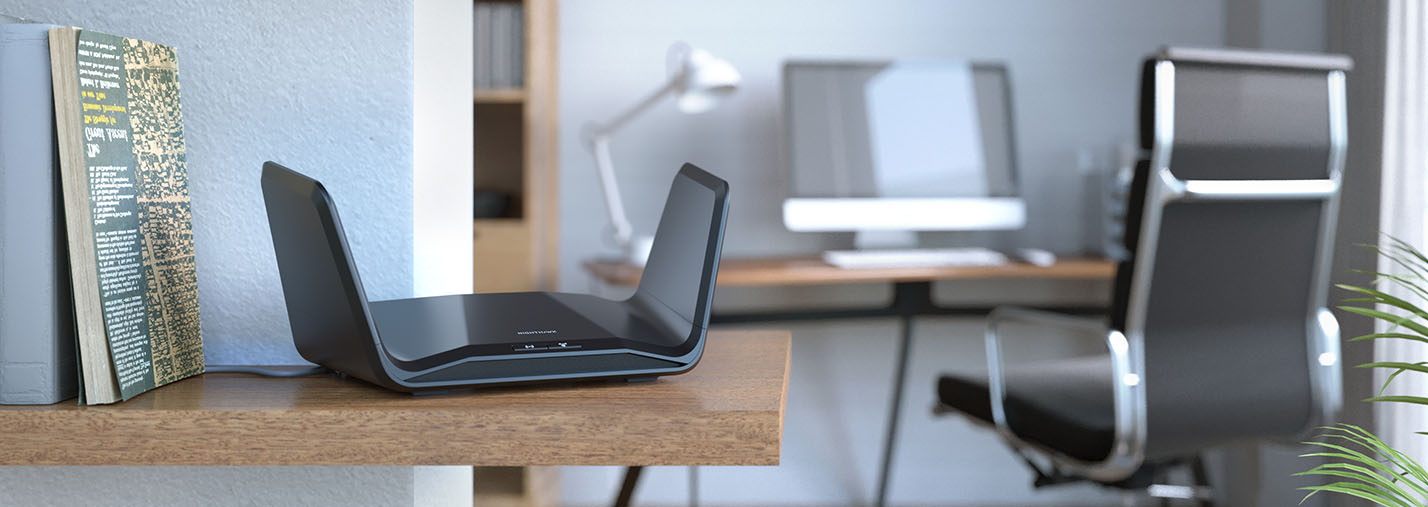
Getting Into Your NETGEAR Router
Netgear routers are among the most popular choices for home and small business networking needs. They offer reliable performance, advanced features, and user-friendly interfaces. However, accessing your Netgear router's settings can be intimidating for some users, especially if you're not familiar with networking terminologies or router configurations. In this guide, we'll walk you through the steps to access your Netgear router and manage its settings efficiently.
Why Access Your Netgear Router?
Accessing your Netgear router's settings allows you to:
Set up your network: You can configure wireless network settings, such as SSID (network name) and security options like WPA2 encryption.
Manage connected devices: View and control the devices connected to your network, prioritize bandwidth for specific devices, and set up parental controls.
Update firmware: Keep your router up-to-date with the latest firmware releases to ensure optimal performance, security, and bug fixes.
Troubleshoot network issues: Diagnose and troubleshoot network problems, such as connection drops or slow speeds, by accessing router logs and settings.
Accessing Your Netgear Router
To access your Netgear router's settings, follow these steps:
Step 1: Connect to Your Router
Ensure your computer or mobile device is connected to your Netgear router either through a wired Ethernet connection or via Wi-Fi. For the initial setup, a wired connection is recommended for stability.
Step 2: Open a Web Browser
Launch a web browser such as Google Chrome, Mozilla Firefox, or Microsoft Edge on your computer or mobile device.
Step 3: Enter the Router's IP Address
In the address bar of your web browser, type the default IP address for Netgear routers: 192.168.1.1 or 192.168.0.1. Press Enter to proceed.
Step 4: Enter Login Credentials
You will be prompted to enter your router's login credentials. By default, the username is usually admin and the password is either password or 1234. If you have changed these credentials previously, enter the updated username and password.
Step 5: Access Router Settings
Once logged in, you will be directed to the router's web-based management interface. Here, you can navigate through various settings and configurations to customize your network according to your preferences.
Important Considerations
Change Default Password: For security reasons, it's crucial to change the default password for your router's admin account. Choose a strong password that includes a mix of letters, numbers, and special characters.
Firmware Updates: Regularly check for firmware updates for your Netgear router and apply them to ensure your router is running the latest security patches and performance improvements.
Backup Settings: Consider backing up your router's settings periodically, especially before making significant changes, to restore configurations in case of accidental changes or resets.
Accessing your Netgear router's settings empowers you to customize and manage your home or small business network effectively. By following the steps outlined in this guide, you can confidently navigate through your router's configurations and optimize your network for better performance, security, and reliability. Remember to stay informed about best practices for router management and security to ensure a seamless networking experience